Showing posts with label home decor. Show all posts

Thursday, May 3, 2012

HUGE Frame!!!


I purchased this poster of our family off of Paper Coterie, I LOVED it!! But, how do I display it??? I got an inspiration off of PINTEREST...I saw this great tutorial that Monica and Jess did over at East Coast Creative. I needed it done on a smaller scales then they did...so I made a template out of poster board, traced it on my wood and cut it out with my jig saw. I also wanted it to have more color. I am in LOVE with grey and white right now..so I choose those colors to do my stripe. I wanted to use a molding to frame the picture to give it more of a framed look...I was just going to do white. But, my husband said it would look good yellow to contrast with the picture...WHAT?!?!?! What a great idea...check one for the husband. He was a very proud being color blind making a decision 
that I used :0)
I LOVE when a vision in my head turns out..YAY!!!


Monday, February 6, 2012

Stocking Holders


I finally moved into a house with a MANTEL, I was so excited to make some stocking holders. I found a great tutorial on "CRAP I'VE MADE", that got my mind going. I LOVED the pinks, turquoises, greens this year. So, I was EXCITED to find this great Christmas paper at Michael's. Here are my pictures of making the holders, if you want a step by step tutorial check at Char's at, CRAP I'VE MADE!!!


Now it's your turn. Happy Crafting!!!

Saturday, February 4, 2012

CHEVRON PRINT~LOVE

I LOVE everything made in CHEVRON...this Christmas I wanted to bring in the gorgeous, lime green, fantastic pink that this Christmas decor, brought in the stores. So, I grabbed a few extra wood blocks, and made a few fun, CHEVRON printed blocks. It looked so great on my mantel for Christmas. With the Pink and Green print, it is looks great with my Valentine mantel also, just think how fun orange and black would before HALLOWEEN!!! SIMPLE, FUN and COLOR!!!! LOVE IT!!!!


Saturday, September 17, 2011

Where Are We Going!!

I saw this great idea on on Pinterest (which I am totally, utterly OBSESSED with) LOVE IT!!! It was a fun way to make a dry erase board and a fun visual for the kids to see what is going on. I bought the frame at Walmart for 11.96.


I can't wait to get it on my wall.
Here is the BLOG that I got my inspiration from NEXT TO HEAVEN.


Thursday, August 4, 2011

A Bench Made To Fit!!!

WOW!! I can't believe summer is almost over. We have been busy on vacation, playing and having fun lazy summer days!!! 


We have been changing around the kids rooms, which made me loose a chest that sat outside my closet. We got use to a bench to sit on, so we needed something to replace it. I knew, I wouldn't be able to find the exact size I needed, so I decide to make one. My husband was going to be out of town for a few days, so I got started. I found these great plans, here on one of my favorite BLOGS, 
Ana White. The plans were perfect, but it was too long, so I had to build it shorter. It took me a few hours, a little longer with lots of little hands helping. I LOVED The way it turned out and it fits PERFECT!!!! YEAH!!


Sunday, April 10, 2011

Fleece Pillow

My Sister emailed me the other day and said, "here is your next PILLOW to make". And she was RIGHT, it was the cutest pillow I had ever seen and HAD to make one RIGHT AWAY!! I went to the store the next day and got all the fabric. It turned out so CUTE and it was SOOOOO EASY to make. Now, my 3 girls all want one, so back to the store I went and let them pick out their colors. We will see when I get theirs done.


If you HAVE to make one like I did, Laura from 
COME TOGETHER KIDS, has a perfect step by 
step tutorial on how to make one. 
 Happy Creating!!

Monday, March 14, 2011

YEAH, a Finished Project!!!


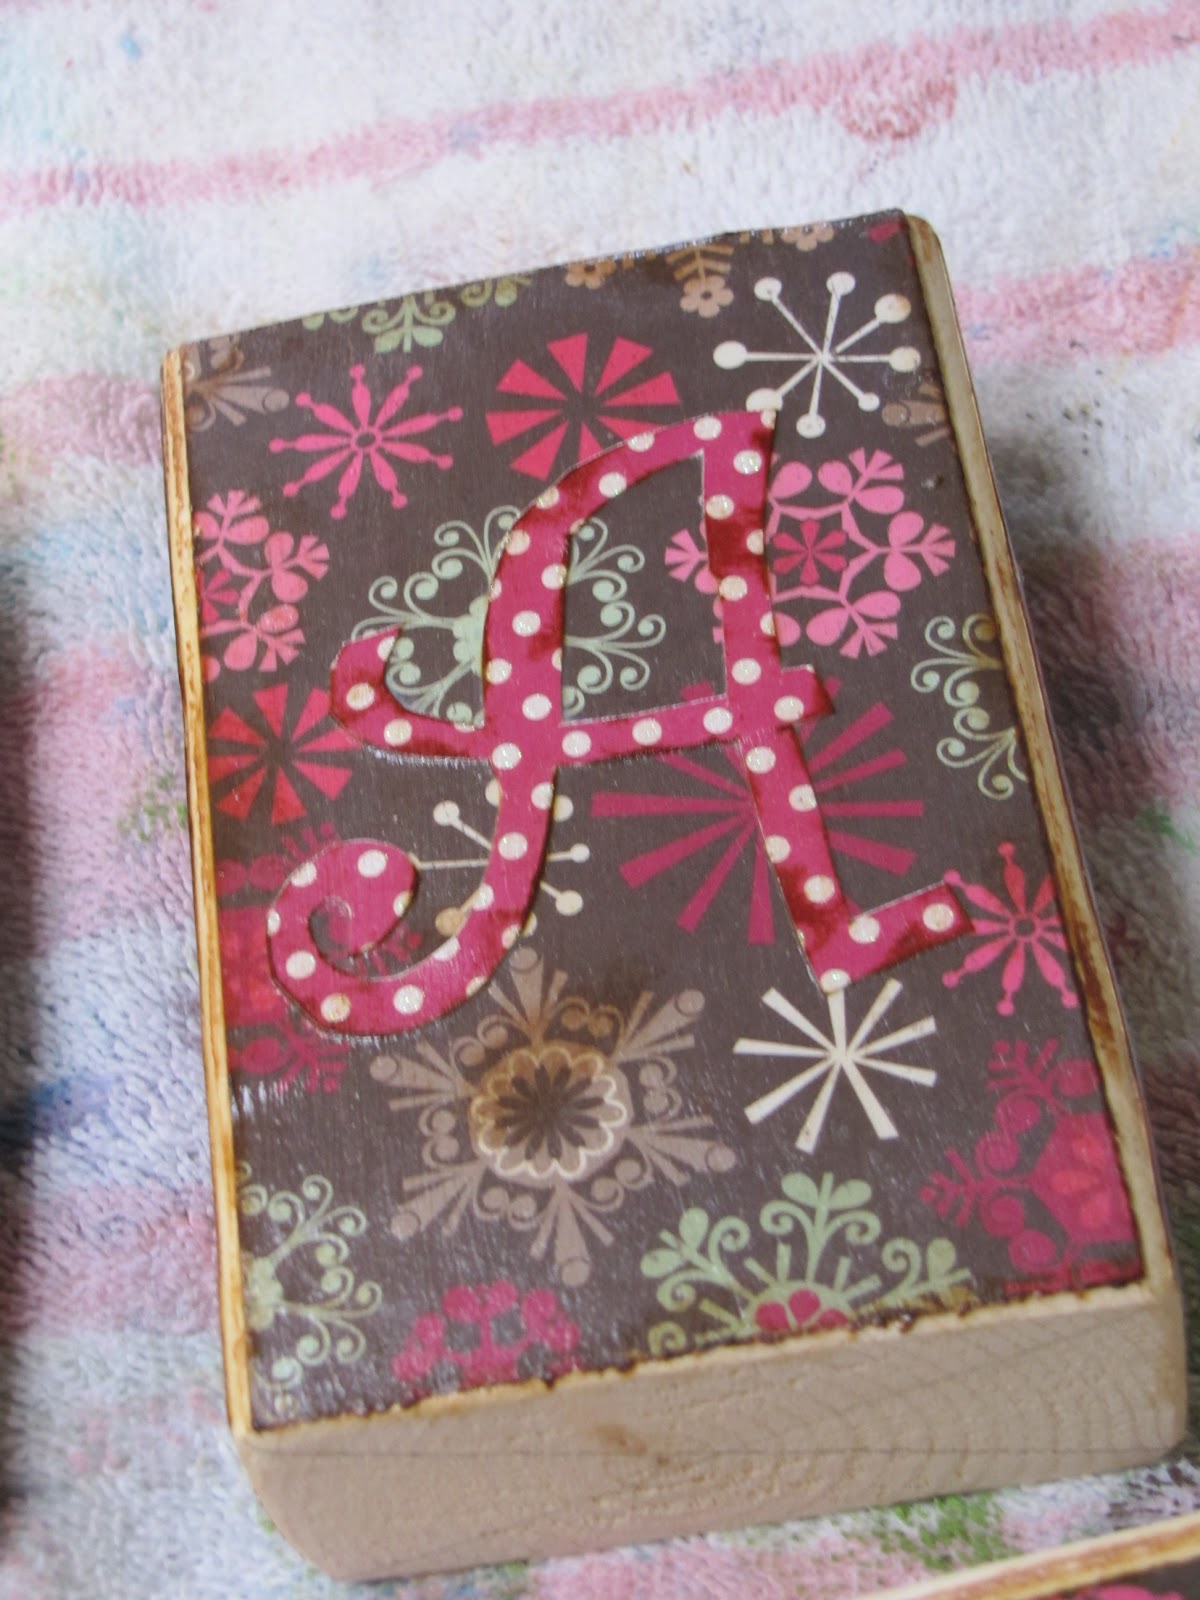
I saw this idea done on one of my sister's friends blogs...I have wanted to do it for years. I finally completed the project. I LOVE IT!! The thing I love the most, is my 2 year old son loves it. He looks over at it when he goes to bed at night and says, "LUKEY" and giggles. It was such a fun and easy way to personalizes his space.


The "L", I got using a 40% off coupon at Joann's, the "U" and "E", I got at Hobby Lobby and the "K" was bought at Wood Connection in Utah, if you have never been there, it is a must. It's one of my favorite stores, but beware your creative juices will start flowing!!!

Wednesday, March 2, 2011

PILLOWS, PILLOWS, PILLOWS!!!


I have been on a kick lately in making pillows. THEY ARE SO FUN TO MAKE!!!
My first pillow actually is a place mat. MY FAVORITE FINDS!! I found this great pink place mat with the sweetest embroider white flowers for .95 cents....YUP!! It was $7.00 dollars off. YEAH!!! You can always find great place mats at Crate and Barrel and Pier One.


All you have to do it unpick a corner and stuff. Sew it up and you have a PERFECTLY BEAUTIFUL pillow!!!


This pillow I fell in love with over at V and Co.
She recently has been on TV showing a great tutorial on how to make this pillow. Click HERE for the tutorial.


When I found my favorite material for my chair, click HERE for the story.
I had noticed this great green with white polka dots. I knew I had to make a pillow out of it. So, I created another version with ruffles. It turned out so cute!!!


Here are all my cute pillows all together!!! LOVE THEM!!!


They look cute on my PERFECT chair!!!


I had this table forever that I had painted brown years ago. So, with a sweet new redo of green, it looks perfect.


The pillow passes. Nice and Comfy!! It has been loved, thrown and whacked across sisters and it is still all together!!!


I found this at Burlington Coat Factory and fell in LOVE!! It was one of those things I couldn't walk away, it had to be mine. We found a perfect spot for it on my wall. It makes me smile every time I walk by.


Now it is all put together. Next project is that mirror..what color should I paint it???? That was my great $2 find.


I Am In LOVE!!!

Growing up I drove my MOM crazy, when it came to sewing. She is a great seamstress and has sewn my whole life. When I needed a dress for a dance, I would create this dress in my mind. My Mom and I would go shopping and I would tell her I want these sleeves on this bodice and the bottom to look like that but, like this in the front. I had the dress all planned out in my mind and they were always BEAUTIFUL!! My mom put up with my inventions and made her best dress to what I had in my mind. She was a saint. They always turned out perfect. She would work with my crazy designs, BUT when I got older I started putting the dresses designed with great material. She would always tell me, I can make the dress, but, I can't do anything about the material. We would shop and shop till I would finally find something that would work. 

OK, so my rambling has brought me to a point.
I bought a chair years ago that I have wanted to recover. I actually didn't have the exact material I wanted in my mind, but I did want a gray background, but it had to have RED and PINK flowers with a gorgeous green, if I could find it. I have looked and looked for this perfect material. I kept finding white backgrounds, with either red or pink flowers but not both. 
My Mom came into town and we were once again looking around for THAT PERFECT fabric. After a few stores and no luck. We stopped by HOBBY LOBBY to look at there great collection of cotton duck with amazing prints. But, still no luck.
As we were leaving, this lady had just pulled out their new shipment of material..and can you BELIEVE it..laying there on the ground was MY MATERIAL, the material I had been looking for, for years. I was SOOOOOOOO excited. Here is what my gray background with red AND pink flowers with green in it looks like:


Isn't it PERFECT!!! I LOVE IT!!!
Sadly the material was cotton, so not thick enough to recover a chair. So, we my mom got piece of denim material, I had at home and quilted the PERFECT fabric to it and made it thick enough to put on my chair. 


The finished product. Doesn't it look amazing. I LOVE IT. Now, I just need to paint the chair....HHHUUUUMMMMM, any suggestions????

SNOW DAYS!!!

We had 4 snow days and were stuck in our home for a few LONG cold days. I had an extra canvas around the house, so we went to work making a masterpiece. I divided the canvas into 4 area's and we spent the afternoon painting and creating. It was really fun. Now I have a perfect masterpiece for our playroom.


It looks so great on the wall and the girls were so PROUD!!

Too find out how to make the EASY and FUN clip board click HERE .

$3 Dollar Make Over!!!

I LOVE THE $3.00 frames at Walmart. Cheap, fun to paint and they look FABULOUS after. I bought 2 different frames with different textures. The first one was a little more dressy and plastic not wood. Here is what it looks like right from the store:


After a coat of paint. I just painted, took a paper towel wiped off some of the painted and It's DONE. Simple and cute!!


This plate I have had seriously for over 15 + years. It is sooooo heavy and has many, many layers of paint. I love it. It is so old that the plastic plate is pealing away from the paint. 


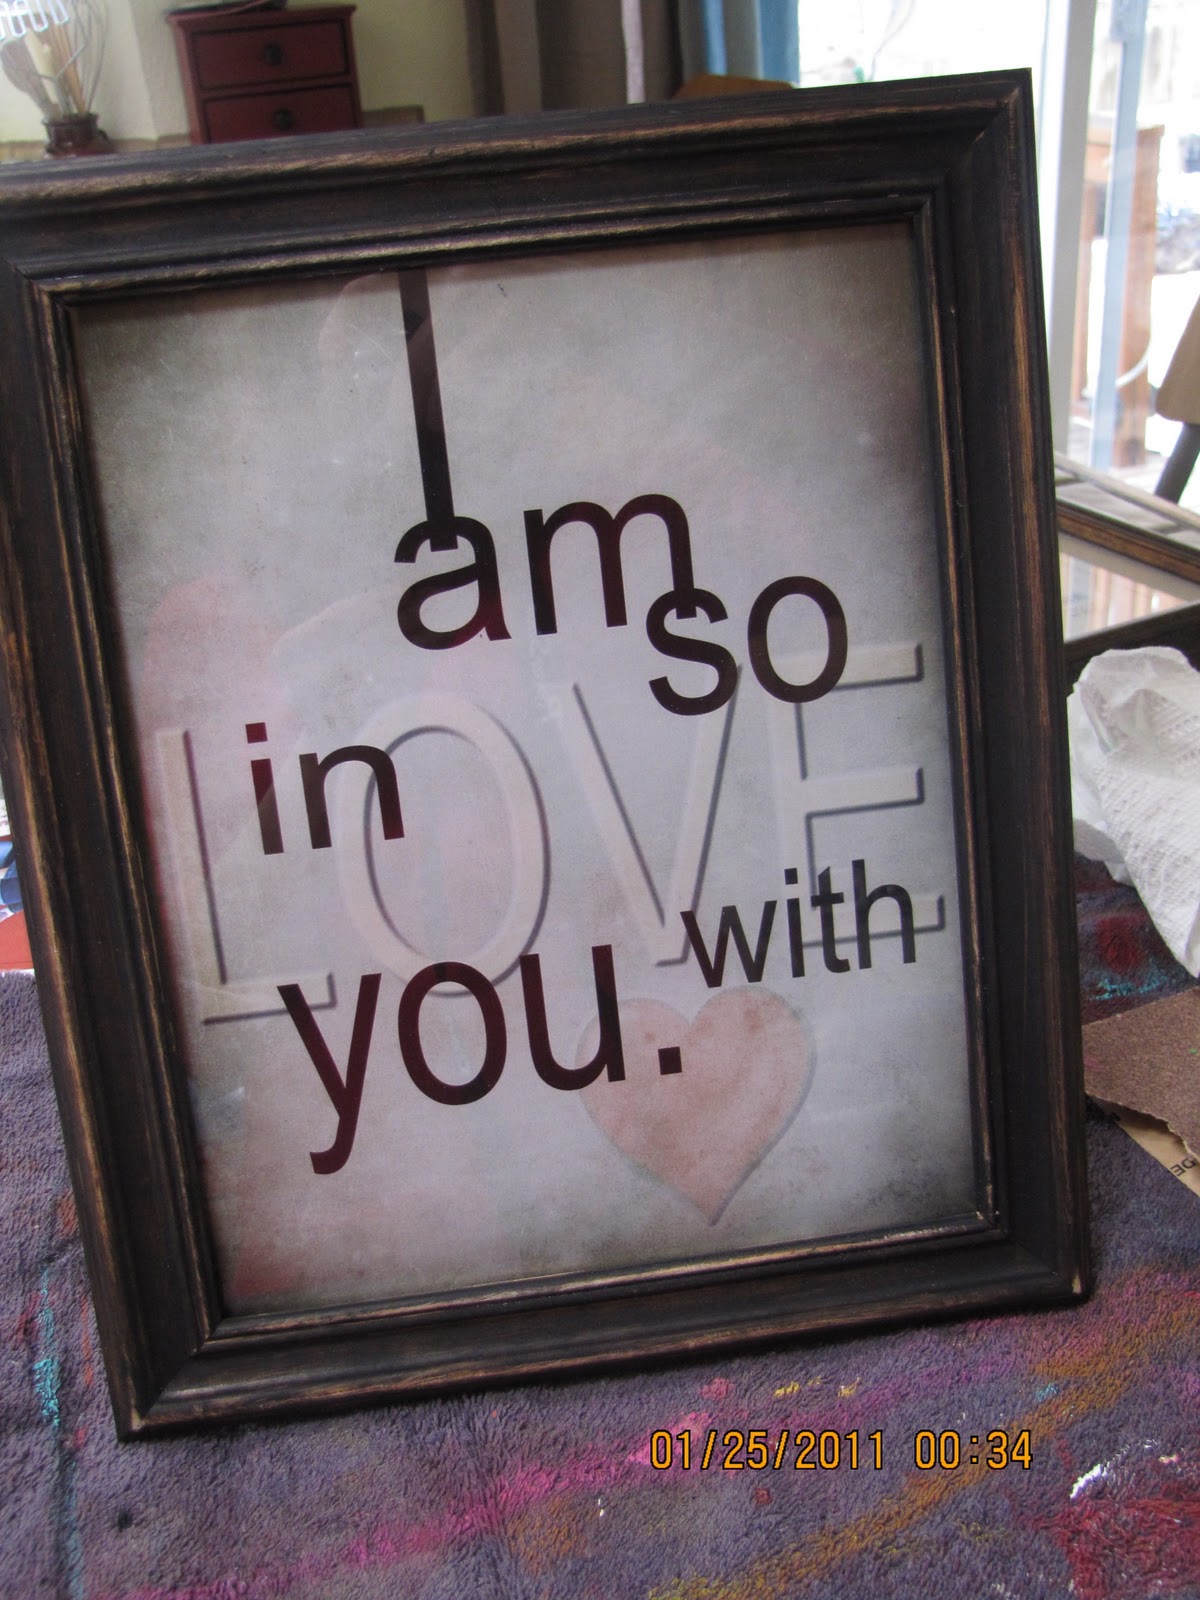
And here it is all done with a great printable. (I know I am a little late for the whole Valentines day theme) ;o)


Next here is the $3.00 wood frame from Walmart.


I painted it black, sanded the natural wood back through, and your DONE.


So, cute with another printable inside.

Go out now, buy your $3.00 frames and have fun creating!!!!